Step-by-Step Guide to DIY Kitchen Cabinet Painting for Beginners
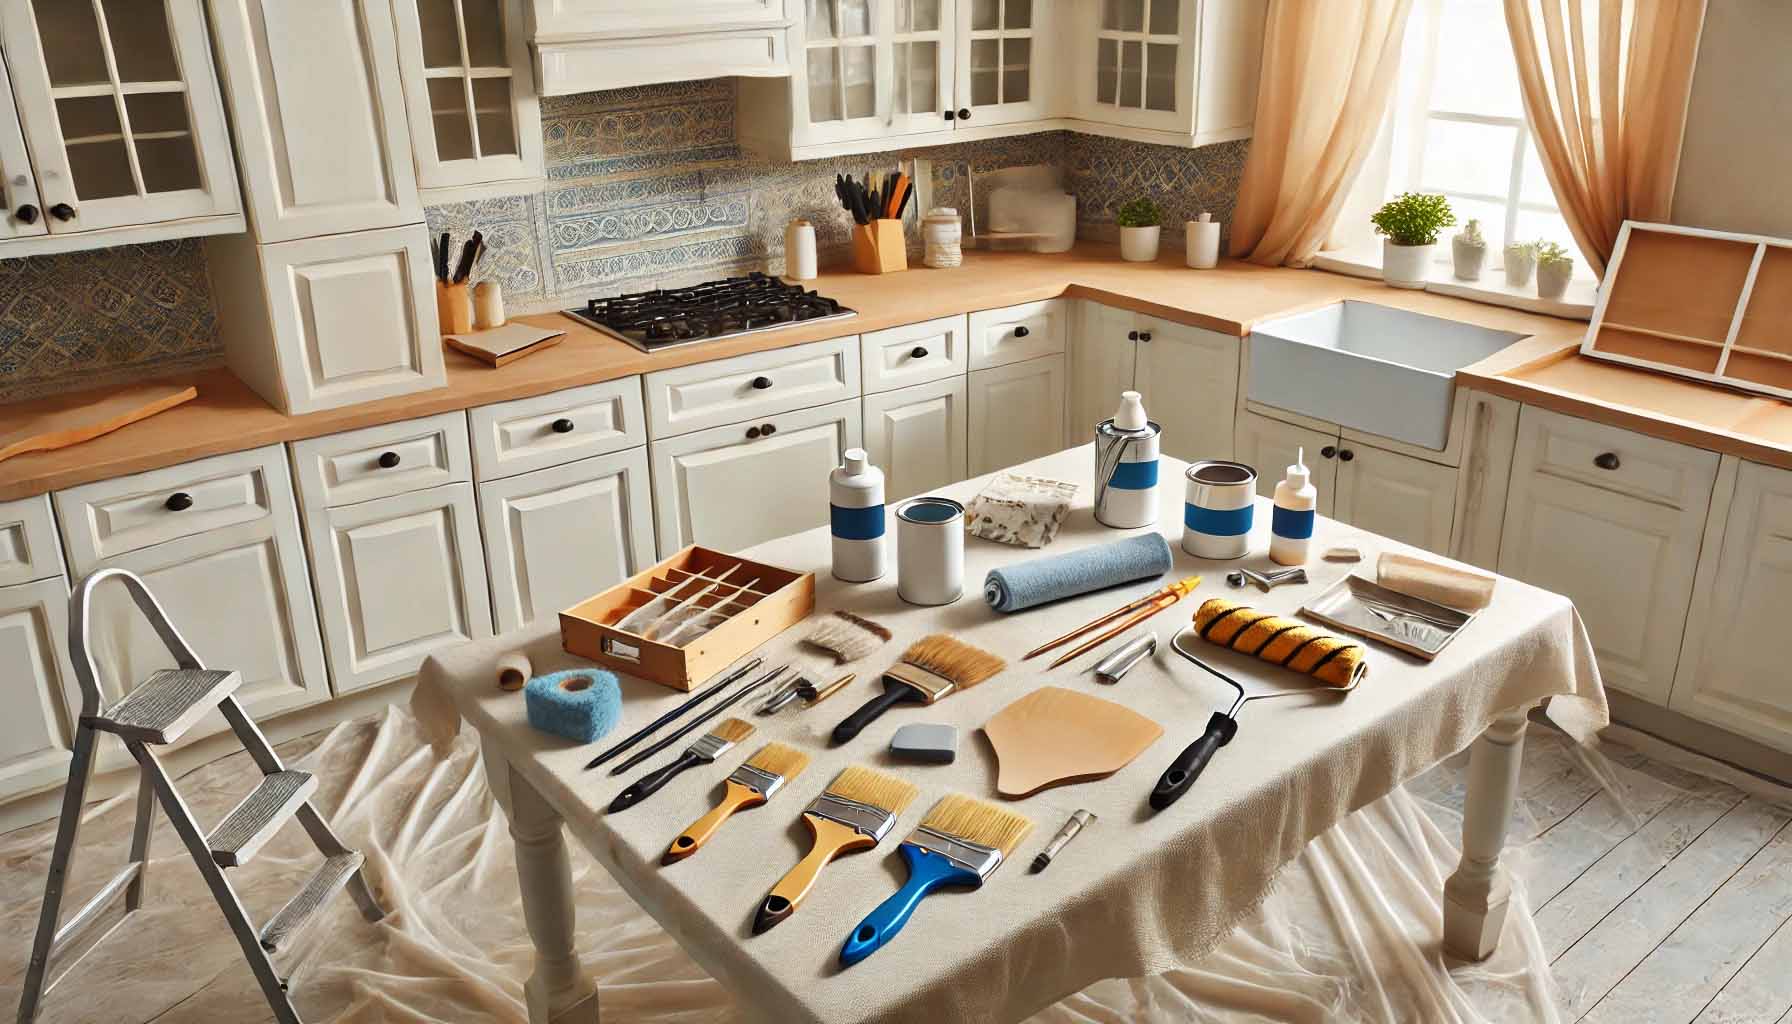
Are your kitchen cabinets looking outdated or worn out? A simple and budget-friendly solution is to try DIY kitchen cabinet painting! This project is perfect for anyone looking to refresh their kitchen without spending a fortune. With the right tools, a bit of patience, and this step-by-step guide, you’ll transform your cabinets into a stunning centrepiece that feels brand new. Are you excited to get your hands dirty and start this project? Let’s jump right in!
Why Paint Your Kitchen Cabinets Yourself?
The Cost-Effective Alternative to Remodeling
Let’s face it—remodelling can burn a hole in your pocket. Painting your cabinets is a fraction of the cost, making it a budget-friendly option for those looking to revamp their kitchen.
Personalizing Your Kitchen with Custom Colors
When you DIY, the colour palette is entirely yours to decide. Want a trendy navy blue or a classic white? Go for it! You have the freedom to match your cabinets to your unique style.
What You’ll Need Before Starting
Essential Tools and Materials
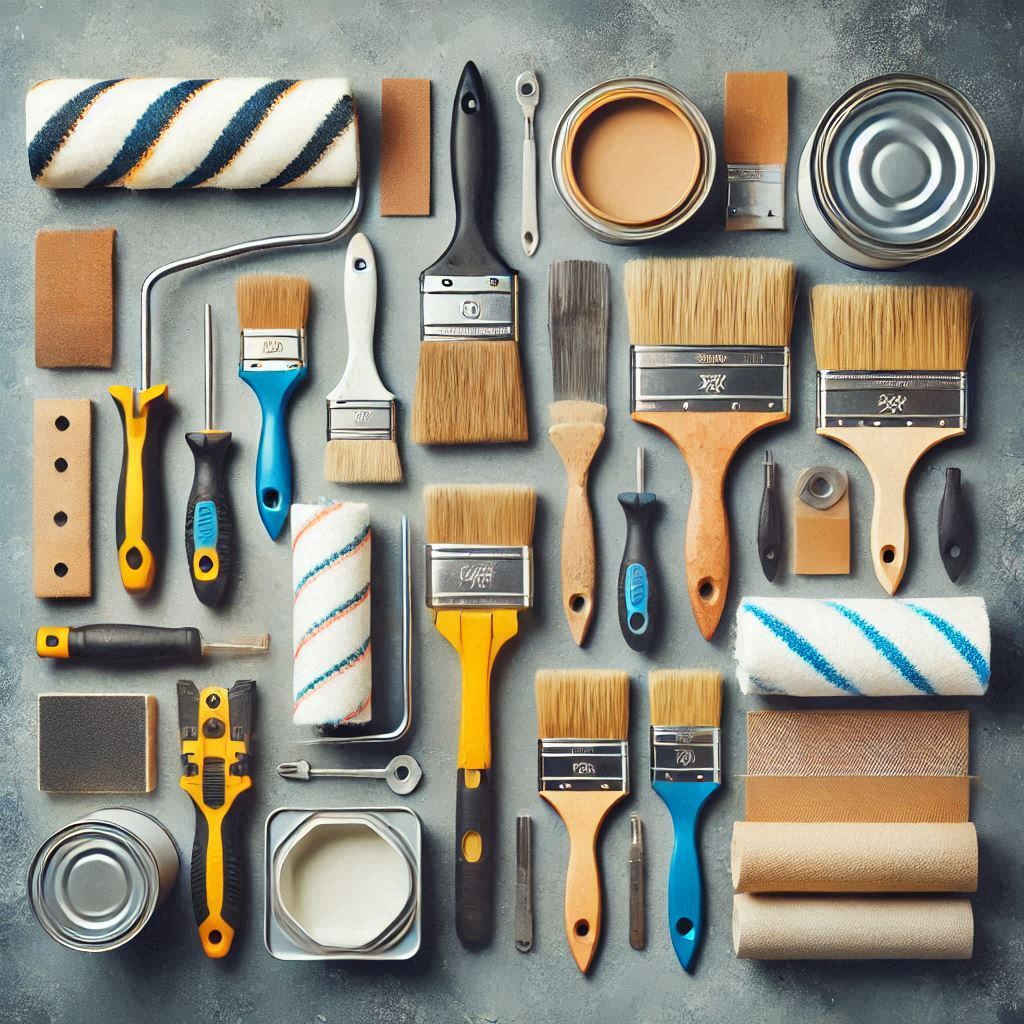
Here’s your shopping list for this project:
- Paint (latex, oil-based, or chalk)
- Primer
- Sandpaper (medium and fine grit)
- Paintbrushes, rollers, or sprayers
- Degreaser and cleaning cloths
- Painter’s tape
- Screwdriver and hardware organizer
Types of Paints and Their Pros and Cons
- Latex Paint: Easy to use and dries quickly but may chip without a protective finish.
- Oil-Based Paint: Durable and smooth but has a longer drying time and stronger odour.
- Chalk Paint: Great for a matte finish but may need sealing for longevity.
Primer: Why It’s Necessary
Primer ensures the paint adheres properly and hides any previous stains or dark colours. It’s a step you can’t skip!
Preparing Your Workspace
Clearing Out the Kitchen
Empty your cabinets and remove any appliances nearby to avoid messes.
Setting Up a Dust-Free Zone
Cover your counters and floors with drop cloths. A clean, dust-free workspace makes all the difference.
Prepping Your Kitchen Cabinets
Cleaning the Cabinets
Use a degreaser to scrub away years of cooking grime. Clean surfaces ensure the paint sticks.
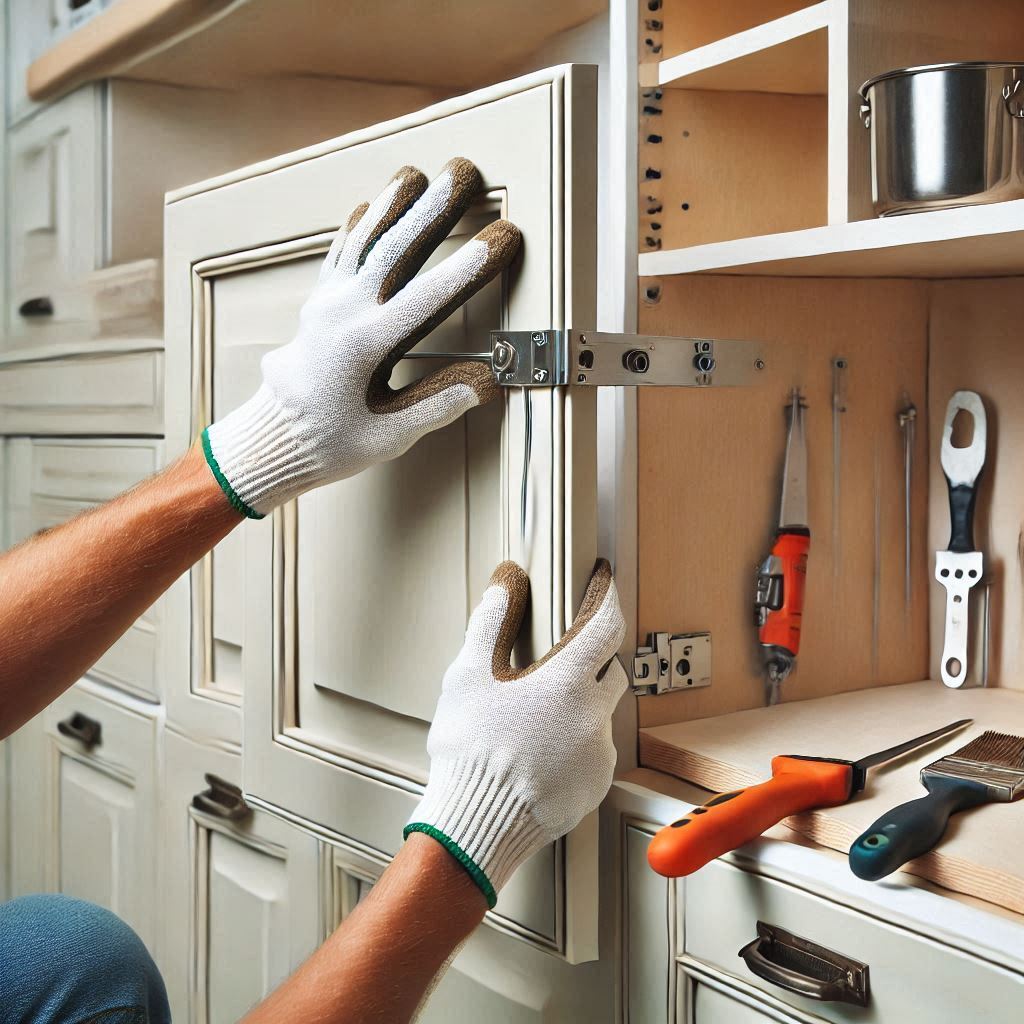
Removing Hardware and Labeling Doors
Unscrew the hinges, knobs, and handles. Ensure each component is labelled to prevent any confusion during reassembly.
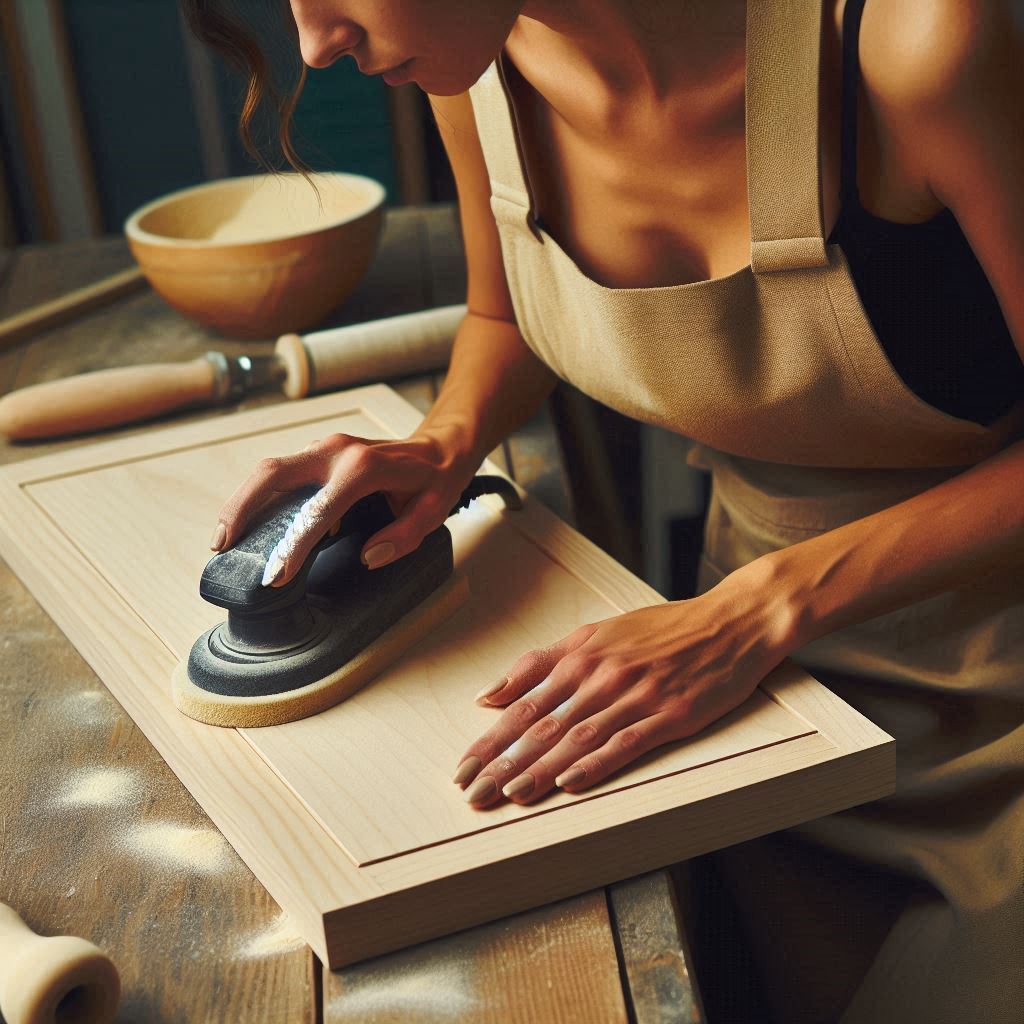
Sanding for a Smooth Surface
Grab medium-grit sandpaper to remove the existing finish. Follow up with fine-grit sandpaper for a polished base.
Painting Your Kitchen Cabinets Step by Step
Applying Primer
How to Choose the Right Primer
Opt for a high-adhesion primer if your cabinets are laminate or glossy.
Techniques for Even Application
Use a roller for flat surfaces and a brush for corners. Work in thin, even layers.
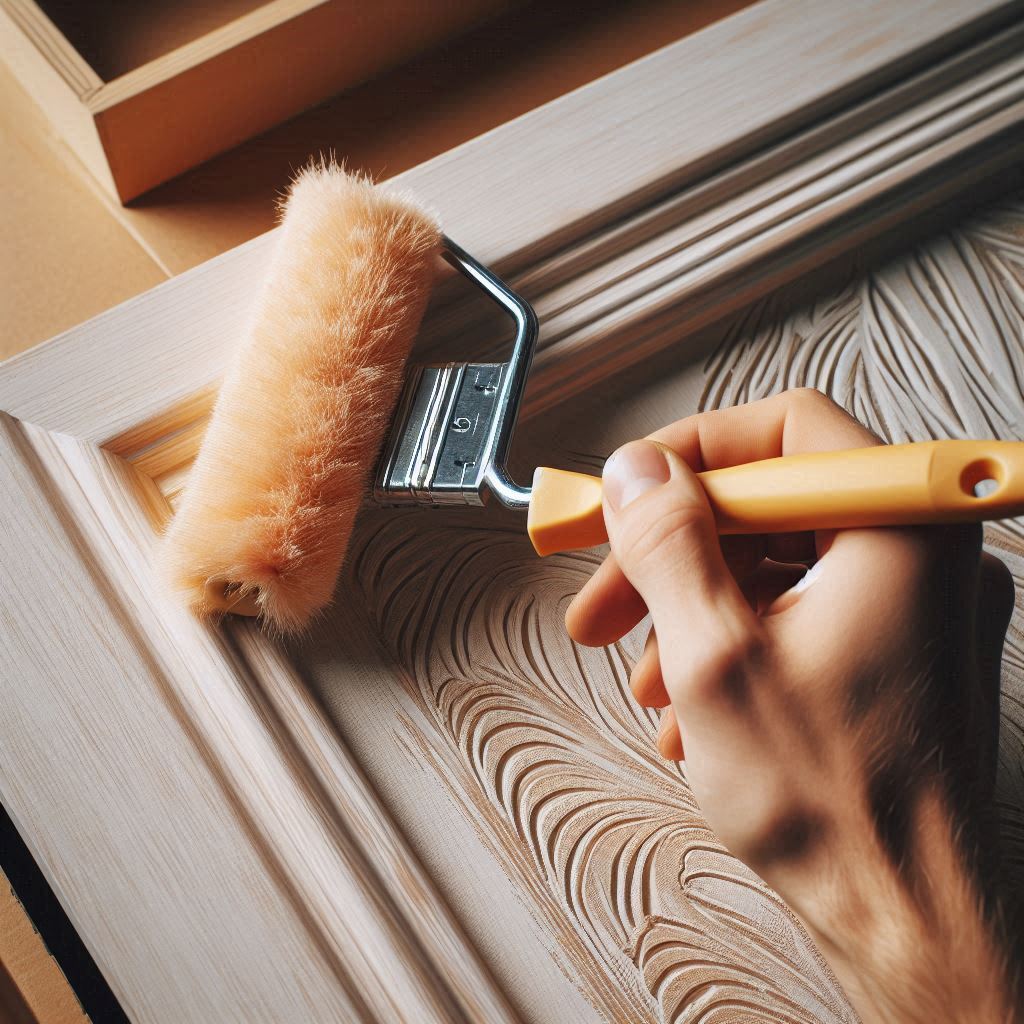
Painting the Cabinets
Brushing vs. Rolling vs. Spraying
- Brushes are great for detailed work.
- Rollers cover large areas quickly.
- Sprayers provide a smooth, professional finish.
Applying the First and Second Coats
Start with thin coats and let them dry completely before applying the next.
Drying and Curing Process
How Long Should You Wait?
Most paints dry to the touch in a few hours, but full curing can take a week. Be patient!
Reassembling Your Cabinets
Attaching Hardware Back
Reattach the knobs, handles, and hinges. Use your labels to ensure everything goes in the right place.
Aligning and Rehanging Doors
Make sure the doors are level and aligned before securing them.
Pro Tips for a Professional Finish
Best Practices for Beginners
- Be sure to try your paint on a small area first!
- Work in a well-ventilated space to avoid fumes.
Common Mistakes and How to Avoid Them
- Skipping primer? You’ll regret it.
- Hurrying the drying process can cause smudges and uneven results.
Maintaining Your Painted Cabinets
Cleaning and Care Tips
Use a soft cloth and mild soap to clean your cabinets. Avoid abrasive cleaners.
Touch-Ups and Repairs
Keep a small container of your cabinet paint for quick touch-ups when needed.
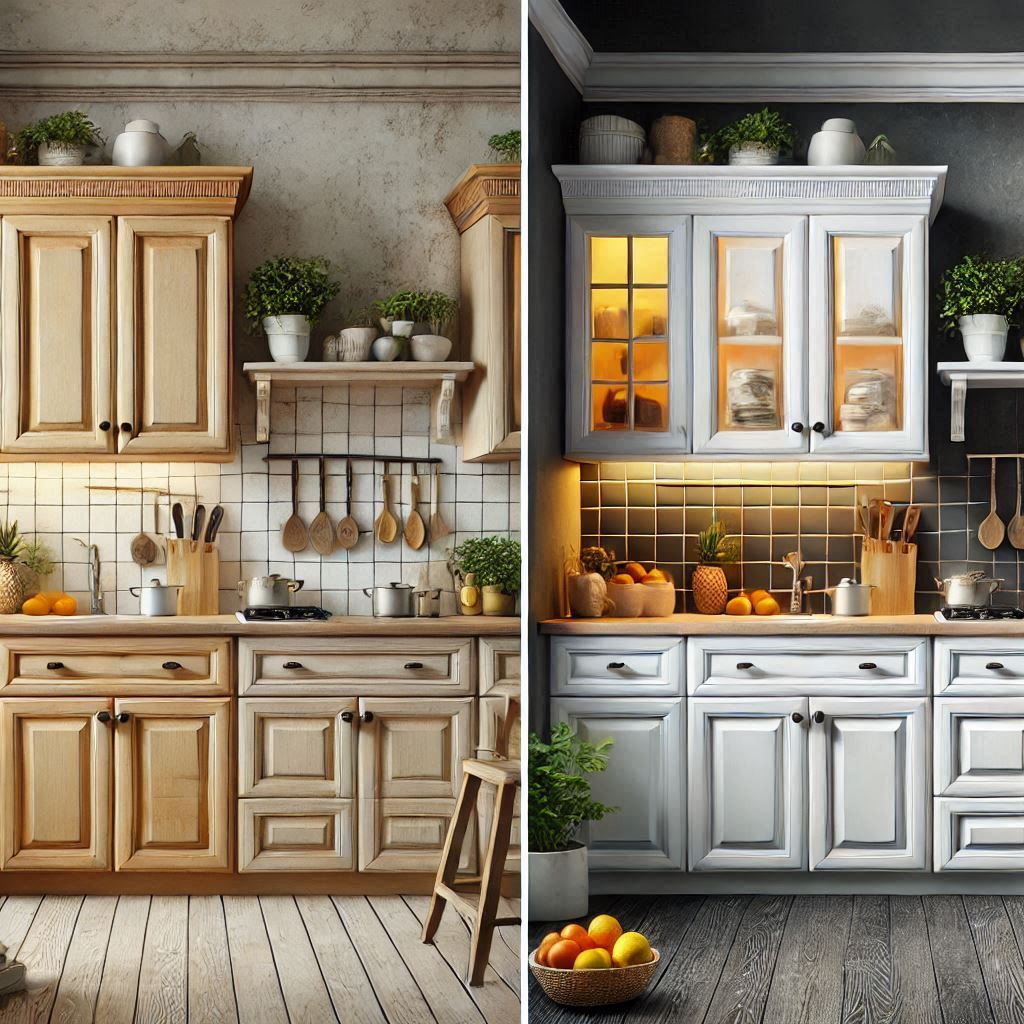
Inspiring Before-and-After Transformations
Take a moment to check out these inspiring transformations. You’ll see how a fresh coat of paint can work wonders!
Conclusion
Painting your kitchen cabinets might seem like a daunting task, but with a little preparation and the right approach, it’s a rewarding DIY project that can completely transform your space. Not only is DIY kitchen cabinet painting a cost-effective way to refresh your kitchen, but it also gives you the freedom to customize the look to fit your personal style.
Whether you’re aiming for a sleek modern vibe or a cosy rustic feel, this project empowers you to take control of your home’s aesthetics. Plus, there’s no better feeling than stepping back and admiring a job well done, especially knowing you did it yourself.
FAQs
1. Can I paint over glossy cabinets without sanding?
No, sanding is essential to ensure the paint adheres properly.
2. How much does it cost to paint kitchen cabinets yourself?
On average, DIY cabinet painting costs $100–$300 depending on materials and tools.
3. Which type of paint is most suitable for DIY kitchen cabinet painting?
Latex or oil-based paints are ideal for durability, while chalk paint is great for a rustic look.
4. How long does the entire process take?
Plan for 3–5 days, including drying time.
5. Can I change the colour of my cabinets later?
Absolutely! Just repeat the sanding and priming steps before applying the new paint.

